🔲 Plywood Cut Calculator
See every cut before the blade touches the sheet. Compare along-length vs along-width layouts, account for saw kerf, and know exactly how many sheets come out full — and what your scrap pile will look like.
Visual Cut-Pattern & Waste Analyzer
How the cut layout math works
The analyzer turns your coverage area into a sheet count, splits it into full sheets plus one final cut sheet, then adds two waste sources most calculators ignore:
Example: 100 sq ft of coverage with a 10% waste margin needs 110 sq ft of plywood — 3.44 sheets. That's 3 full sheets plus a final sheet cut at 44%. Ripping the sheets apart along their length takes 3 cut lines; at a 1/8" kerf across the 4-foot width, the blade consumes about 0.13 sq ft. The order stays 4 sheets, and you can see the leftover 38 sq ft of scrap before driving to the yard.
Reading the layout preview
Panels that go from the truck to the project untouched. Maximize this count and installation time drops with your material bill.
The final panel, shown with the used portion filled and the scrap remainder in red. The fill direction matches your chosen cut direction.
Compares both orientations and picks the one that loses less material to kerf and offcuts — with a 4×8 sheet the difference is usually small, but on 20+ sheet orders it adds up.
Match your actual blade: 0.125" standard circular saw, 0.0936" thin-kerf table saw, 0.1875" framing blade. Zero it out for laser-perfect planning.
Seven ways to shrink your scrap pile
- Sequence matters: cut the biggest pieces first, then harvest the offcuts for drawers, shelves, and blocking — never the reverse.
- Size up the sheet: a 4×10 or 4×12 sheet often covers a 9–12 ft run with zero cross cuts, replacing two seamed 4×8s and their H-strips.
- Thin-kerf blade: switching from 1/8" to 3/32" saves ~25% of kerf loss — meaningful when ripping dozens of strips for shelving.
- Design around the module: cabinets laid out on 16" or 24" centers slice a 4×8 sheet into clean 3-per-width rips with no remnant strip.
- Harvest openings: window and door cutouts from wall sheathing are pre-cut shelves — label and stack them on site instead of skipping the dumpster.
- Right-size the waste factor: simple rectangular layouts need 5%, not the 10% default. Let the preview prove your layout is clean before trimming the margin.
- Nested planning: mirror the last sheet's cut so both halves serve two rooms — the multi-room calculator tells you the combined count to aim for.
Choosing the saw: circular vs. track vs. table
The cut layout you can actually execute depends on the machine in front of you. Each saw handles a full 4×8 sheet differently, and that shapes both the cut order and the kerf you enter:
| Saw | Typical kerf | Strengths | Watch out for |
|---|---|---|---|
| Circular saw | 1/8" (0.125") | Cuts sheet in place on foam board; cheap; job-site default | Needs a straightedge clamp for accurate rips |
| Track saw | ~3/32" (0.094") | Splinter-free cuts anywhere; zero-offset edge cuts; dust collection | Track and rail cost; blade exposure discipline |
| Table saw | 3/32" – 1/8" | Repeatable rips; perfect 90° edges; best for many identical strips | A 4×8 sheet is awkward and unsafe alone — needs outfeed help |
| Panel / beam saw | ~3/16" | Production shops; stacks multiple sheets per pass | Shop-only; wider kerf eats material |
* Enter the kerf from the table (or your actual blade) in the calculator above — the preview recomputes kerf loss instantly.
Kerf widths by blade type
Kerf is set by the blade, not the saw. A thin-kerf blade removes roughly a quarter less material than a full-kerf framing blade — small potatoes on one sheet, meaningful when a project calls for dozens of rip cuts:
How to cut plywood cleanly: eight field techniques
- Support the full sheet on rigid foam. Lay a sheet of 1" or 2" foam board on sawhorses and cut right through both — the foam supports the offcut instead of pinching the blade, and there's nothing underneath to damage.
- Good face down for circular saws. A circular saw's blade cuts on the upstroke into the top surface, so splinters land on the side facing up. Put the show face down; table saws are the reverse.
- Score the cut line first. A shallow 1/8" pass slices the face veneer cleanly; the full-depth pass that follows can't tear it out. Track saws achieve the same with their splinter guard.
- Keep the factory edge square. Check the first rip against a framing square — factory edges are usually straight but not always square, and every measurement downstream inherits the error.
- Cut the biggest parts first. Then nest smaller parts into the remnants in order of size. Reversing the order leaves you with a pile of useless strips and one uncut large panel.
- Label every piece as it leaves the blade. A pencil note — "shelf 2, 23-1/4 × 11-1/2" — beats re-measuring a stack of near-identical parts at assembly time.
- Let the offcut fall free. Never hold a piece across the blade path, and never cut between unsupported points. The foam-board method plus gravity solves both.
- Mind the teeth count for veneer. 40+ tooth plywood/finish blades leave clean edges on visible faces; 24T framing blades rip fast but chew the show surface.
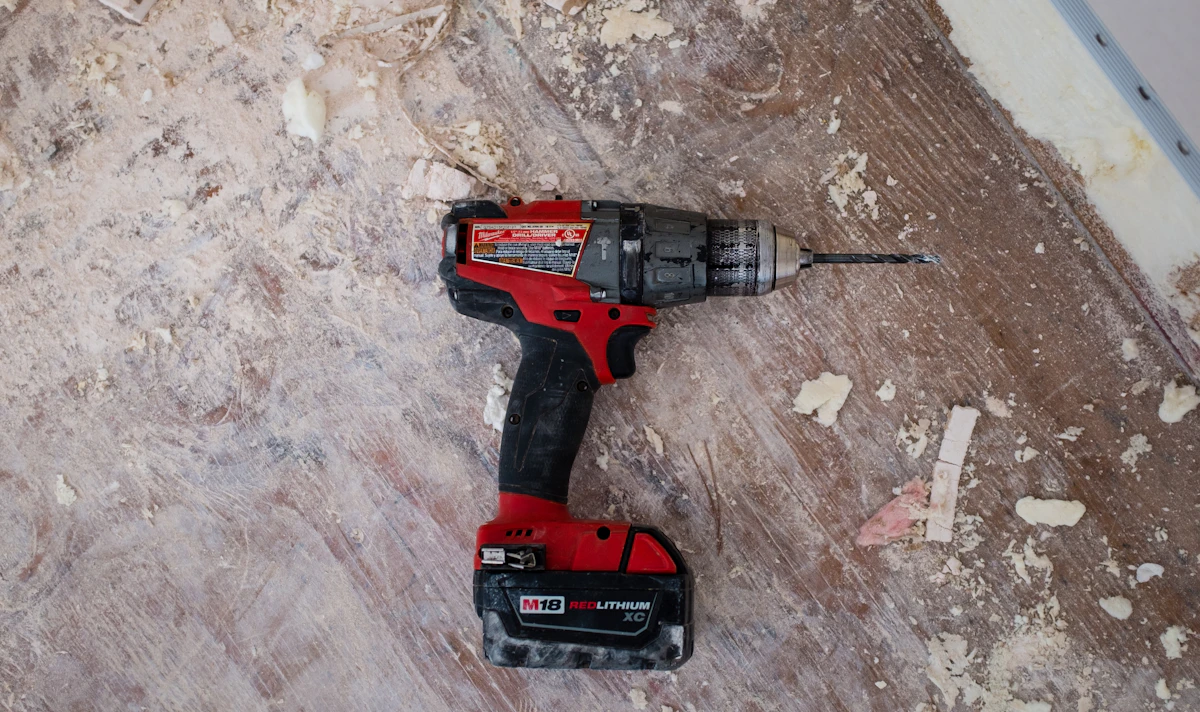
The layout is only half the job — blade choice and sheet support decide whether the plan survives the first cut.
What a cut calculator can and can't do
This tool answers the buying question — how many sheets, how much waste, which sheets stay full. That puts it between two other jobs it deliberately doesn't do:
Converts coverage area into a sheet count, splits full vs. cut sheets, compares both cut directions, and prices the kerf loss so the waste factor stops being a guess.
It doesn't nest a bill of materials — fitting 37 labeled cabinet parts onto 8 sheets is a cut-list optimizer's job. For area-based projects (floors, walls, decks) the analyzer's answer is the one you order by.
The distinction matters for money: a parts-nesting optimizer squeezed a real 37-part storage-unit job from 10 sheets (one part type at a time) down to 8 (all parts mixed) — one sheet above the 7-sheet area minimum that no layout can beat. For whole-surface work like subfloor, there's nothing to nest: the coverage math above is the optimization, and Auto direction simply picks the orientation that wastes less.